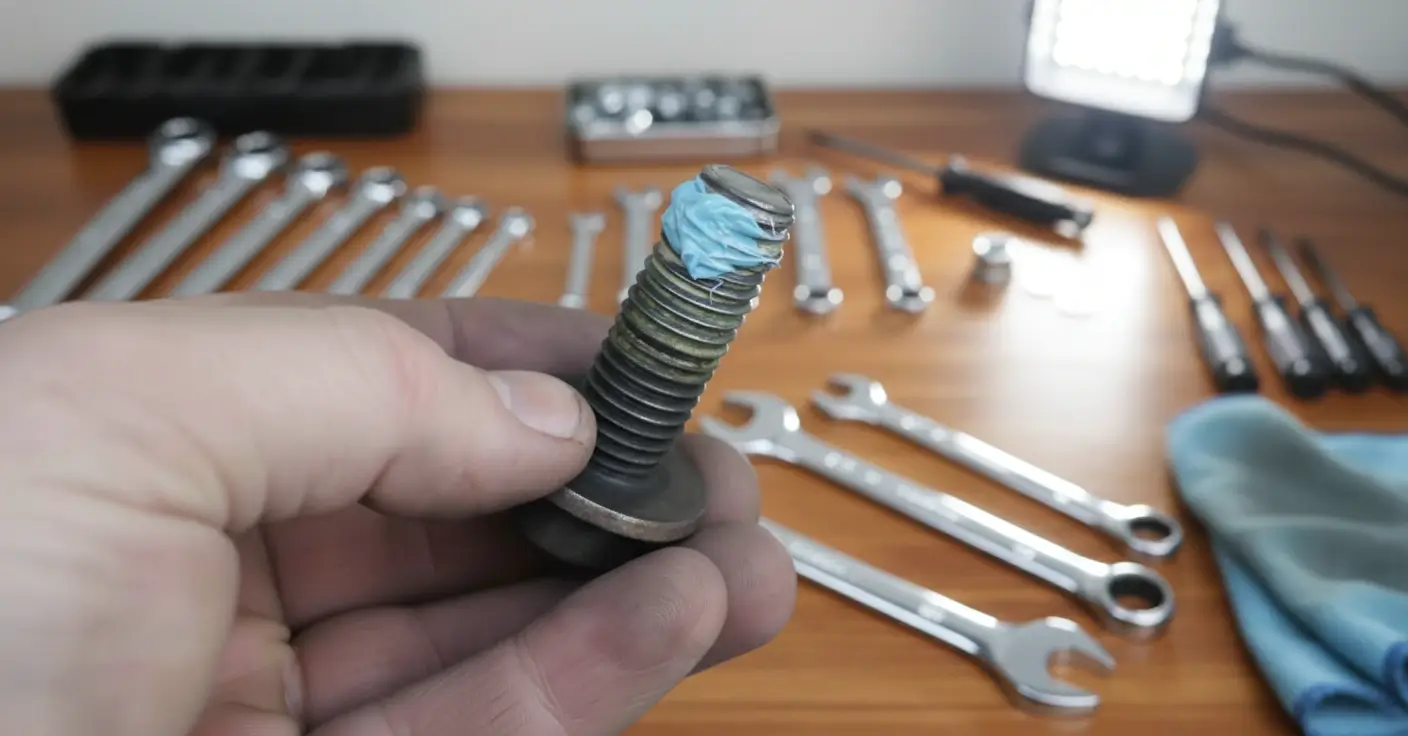
That little bolt won’t budge, and now you’re stuck wondering if threadlocker welded it shut for life. You’re not alone – many face this problem. It’s frustrating when routine disassembly turns into a nerve-racking task.
Blue threadlocker is tough by design – meant to keep things secure while still being removable. However, heat, the right tools, and the correct method matter – and doing it wrong can strip parts or halt production.
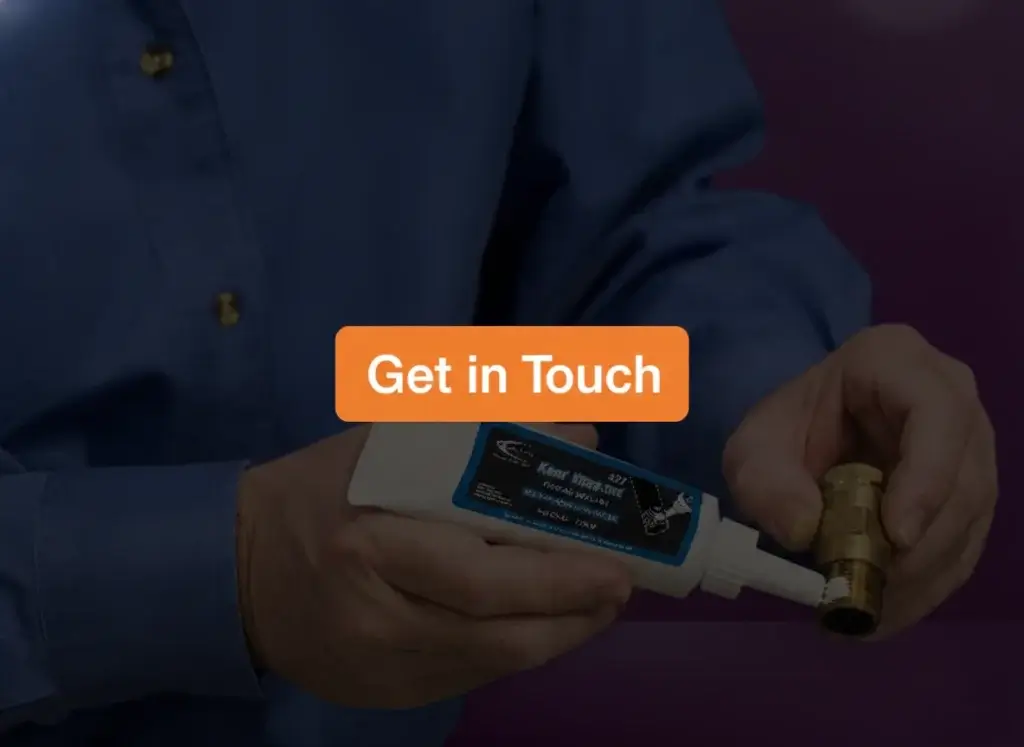
At Chembond Material Technologies, we work closely with automotive OEMs, manufacturers, and plant teams facing this exact challenge. We provide guidance, proven solutions, and the proper chemical support to ensure your operations run smoothly.
Understanding Blue Threadlocker
What is Blue Threadlocker
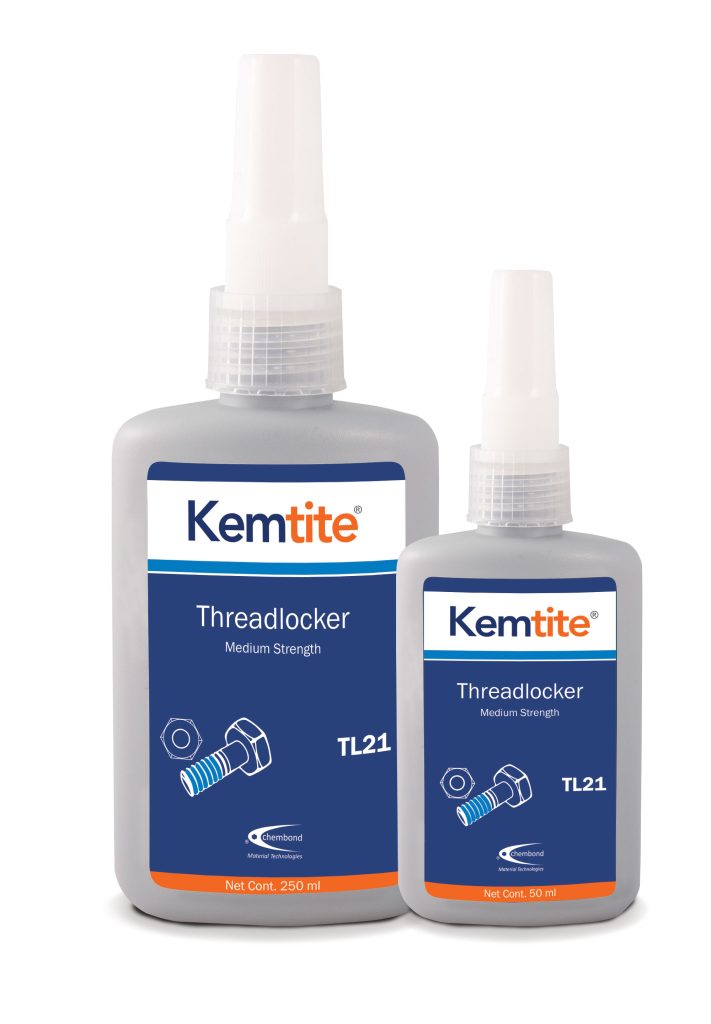
That stubborn bolt you’re twisting might be held by a bit more than friction – probably a dab of blue threadlocker. This medium-strength adhesive prevents loosening due to shock or vibration while still allowing for disassembly with hand tools. It contains acrylic ester and cures in the absence of air between tight-fitting threads. You’ll often find it securing machine fasteners, car parts, motorbikes, and power tools. It’s ideal for jobs that require durability but allow for future maintenance.
Threadlocker Strength and Grades
Blue threadlocker falls into the medium-strength category – strong enough to keep bolts from loosening but still removable. Red is a high-strength option that often requires heat for removal. Purple is a low-strength threadlocker option, best suited for tiny screws, such as those found in eyeglasses. For most maintenance needs in home, auto, or plant systems, blue is the reliable middle ground that offers safety and future flexibility.
Tools and Materials for Safe Removal
Essential Tools Required
Reliable removal starts with the right tools. You’ll need a good-quality spanner or socket set and possibly needle-nose pliers for tricky spots. A heat gun or adjustable flameless torch helps neutralise cured adhesive. Keep steel brushes, rags, scrapers, and degreasers handy for post-removal cleaning. When working around grease-sensitive parts, use non-corrosive solvents to protect surfaces.
Safety Measures Before Removal
Before loosening anything, wear gloves and safety goggles to protect against accidental sprays or heat. Use proper ventilation, especially when applying heat or solvents. When working on electrical or mechanical systems, ensure everything is powered off, clamp or support components to avoid sudden releases or tool slips. Stable posture and lighting will reduce workplace mishaps.
Preparing the Work Area
Clean surroundings make a big difference. Remove oil, grime, and loose parts so everything is visible. Isolate the fastened area to prevent slip-ups from damaging nearby components. Mark bolt positions before loosening to facilitate easier reassembly. Cover delicate surfaces near the job area to avoid stains from solvent or tool scratches.
Step-by-Step Removal Techniques
Mechanical Methods
In many cases, regular tools are enough. Apply steady torque using a correctly sized spanner – avoid forcing it. If resistance builds up, gently tap the fastener with a small hammer to break the thread bond. Wiggle the piece slightly to feel the release. This method works best on freshly applied blue threadlocker.
Heating Methods for Loosening
Sometimes, a little heat goes a long way. Apply brief heat using a soldering iron or low-temp torch, focusing on the bolt head. Blue threadlocker softens at around 150°C. Rotate the bolt gently during heating for even coverage. Continue loosening the fastener while it’s warm – waiting too long lets it reset.
Chemical Solvent Applications
When heat’s not an option, solvents like acetone or Chembond Material Technologies industrial-grade debonders can help. Spray it over the joint and wait 10-15 minutes. Let the compound soak in and break down the adhesive’s hold. After softening, unscrew carefully. Repeat if necessary, but avoid over-applying on painted or coated parts.
Handling Residue and Part Restoration
Cleaning Leftover Adhesive
After removal, a sticky mess often lingers. Use wire brushes or plastic scrapers to scrub the residue gently. Acetone or isopropyl alcohol works great for chemical cleaning. Wipe down with lint-free cloths, ensuring no debris remains hidden in the thread grooves. This step helps restore clean mating surfaces for reuse.
Preventing Thread Damage
Don’t rush back into reassembly. Stripped threads from over-torquing can ruin future performance. Check for wear or flattening on both bolt and hole threads. Use thread gauges or test-fitting with fresh bolts if needed. When unsure, replace fatigued parts to avoid mechanical failures later.
Reassembly and Lubrication
Before tightening things back, apply lubricants or anti-seize paste for smooth engagement. If high-strength threadlocker is needed again, reapply only a small amount. Make sure threads are clean and dry before applying. Then torque the bolt to spec. For water-exposed zones, use thread sealant alongside threadlocker to keep parts secure and dry.
Dealing with Difficult Cases
When Screws Are Stripped
Stripped or rounded-off fasteners need careful handling. Use extractor sets, such as reverse-threaded drill bits or bolt grips, to latch onto damaged edges. Avoid hammering too hard, as it can worsen thread damage. In stuck cases, drill out carefully and rethread or replace with new hardware.
On Smaller Parts or Sensitive Equipment
Delicate equipment, such as electronics or bicycles, requires a gentler approach. Use chemical debonders sparingly on button screws or aluminium threads. Controlled heat pencils work better than bulky tools on plastics. Always use soft jaws or padded vice grips to avoid cracking parts during removal.
Industrial-Grade or Persistent Bonds
When faced with engine bolts or industrial fasteners drenched in threadlocker, gear up. Combine medium heat with high-quality penetrative sprays. Use heavy-duty impact wrenches or torque-matched hand drivers. Our clients in the auto OEM sector trust Chembond Material Technologies support team to select debonders that are suited to exact bolt sizes and torque specifications.
Common Mistakes and Misconceptions
Misuse of Heat or Tools
Cranking up the heat with a kitchen torch or yanking too hard can easily damage surrounding components. We’ve seen scorched finishes, cracked plastics, and stripped bolts – all from rushed jobs. Use controlled heat and matched tools. A little patience with precision goes a long way beyond brute force.
Assumptions About Threadlocker Strength
Some think blue threadlocker is weak because it’s removable. That’s not true. It’s engineered to hold under stress and flexing. Don’t confuse ease of use with lack of strength – blue lock is still industrial-grade. Always verify fastener movement before declaring it clear. Also, look for internal threading issues.
Errors in Reapplication
Too often, people reapply thread locker on old bolts without cleaning them. Adhesion drops drastically. Clean surfaces are a must. Also, don’t ignore torque specs. Under-tightening or over-cranking can either loosen or prematurely break parts. Match torque ratings to the part and material to preserve thread lifespan.
Alternatives and Preventive Measures
Alternative Fastening Methods
For more minor repairs or non-critical areas, manual lock washers, nyloc nuts, or spring washers offer simpler reuse. If seal integrity is less critical, a low-strength purple threadlocker does the job and facilitates faster removals. Our Kem Vibra-Tite series offers these in custom-fit ranges tailored to surface prep.
Smart Usage Tips
Mark bolts or surface edges before securing, so you remember alignment spots during future disassembly. Apply threadlocker only on the thread – never on the bolt shank or nut face. Excess glue inside threaded holes adds pressure while tightening, leading to joint stress and damage.
Preventing Future Removal Challenges
Select threadlocker based on torque level, heat range, and mating part size. For instance, drivetrain bolts need blue; delicate body panel screws use purple. We help factories pre-select the right products during design to simplify service cycles. Leave access points clear, and avoid applying over rusted fasteners.
Frequently Asked Questions
Can blue threadlocker be removed without heat?
Yes, it can – especially if applied recently. Use hand tools and slow, even pressure to break the bond. Solvents help too.
What temperature loosens blue Loctite?
About 150°C is usually enough for softening. Use a heat gun or soldering iron, and avoid open flames around flammable materials.
Which solvent actually breaks down Loctite Blue?
Acetone or specialty debonders from ChemBond’s industrial MRO line work well. The spray-and-wait method yields the best results.
Can I remove Loctite from a gun barrel?
Yes, carefully. Avoid high heat; use solvents and precision tools. Let it soak, then twist gently using padded vice grips.
What method works best for removing screws fixed with blue threadlocker?
Heat and manual torque are the most reliable. For smaller screws or electronics, chemical debonding ensures safer, damage-free removal.